
Discover
Choose a starting point.
Browse a Ready-Made Wall, a shelf system, or a statement piece. Save the finish, material, and overall feeling you want to bring into the space.
The Process
A clear, visual path from the first saved idea through design approval, payment milestones, final reveal, and warranty support.
MSW Customer Journey
There are no black boxes. Each stage gives you a decision, a deliverable, and a clear next move.
Discover
Browse a Ready-Made Wall, a shelf system, or a statement piece. Save the finish, material, and overall feeling you want to bring into the space.

Estimate
Use the live estimator to compare service tiers, access conditions, and a preliminary installed range. Common upgrades remain visibly separate until the site is reviewed.

Prepare
Upload the wall, room, and inspiration images. Note outlets, switches, TV plans, fireplace conditions, height, access, and any window or bay geometry.

Consult
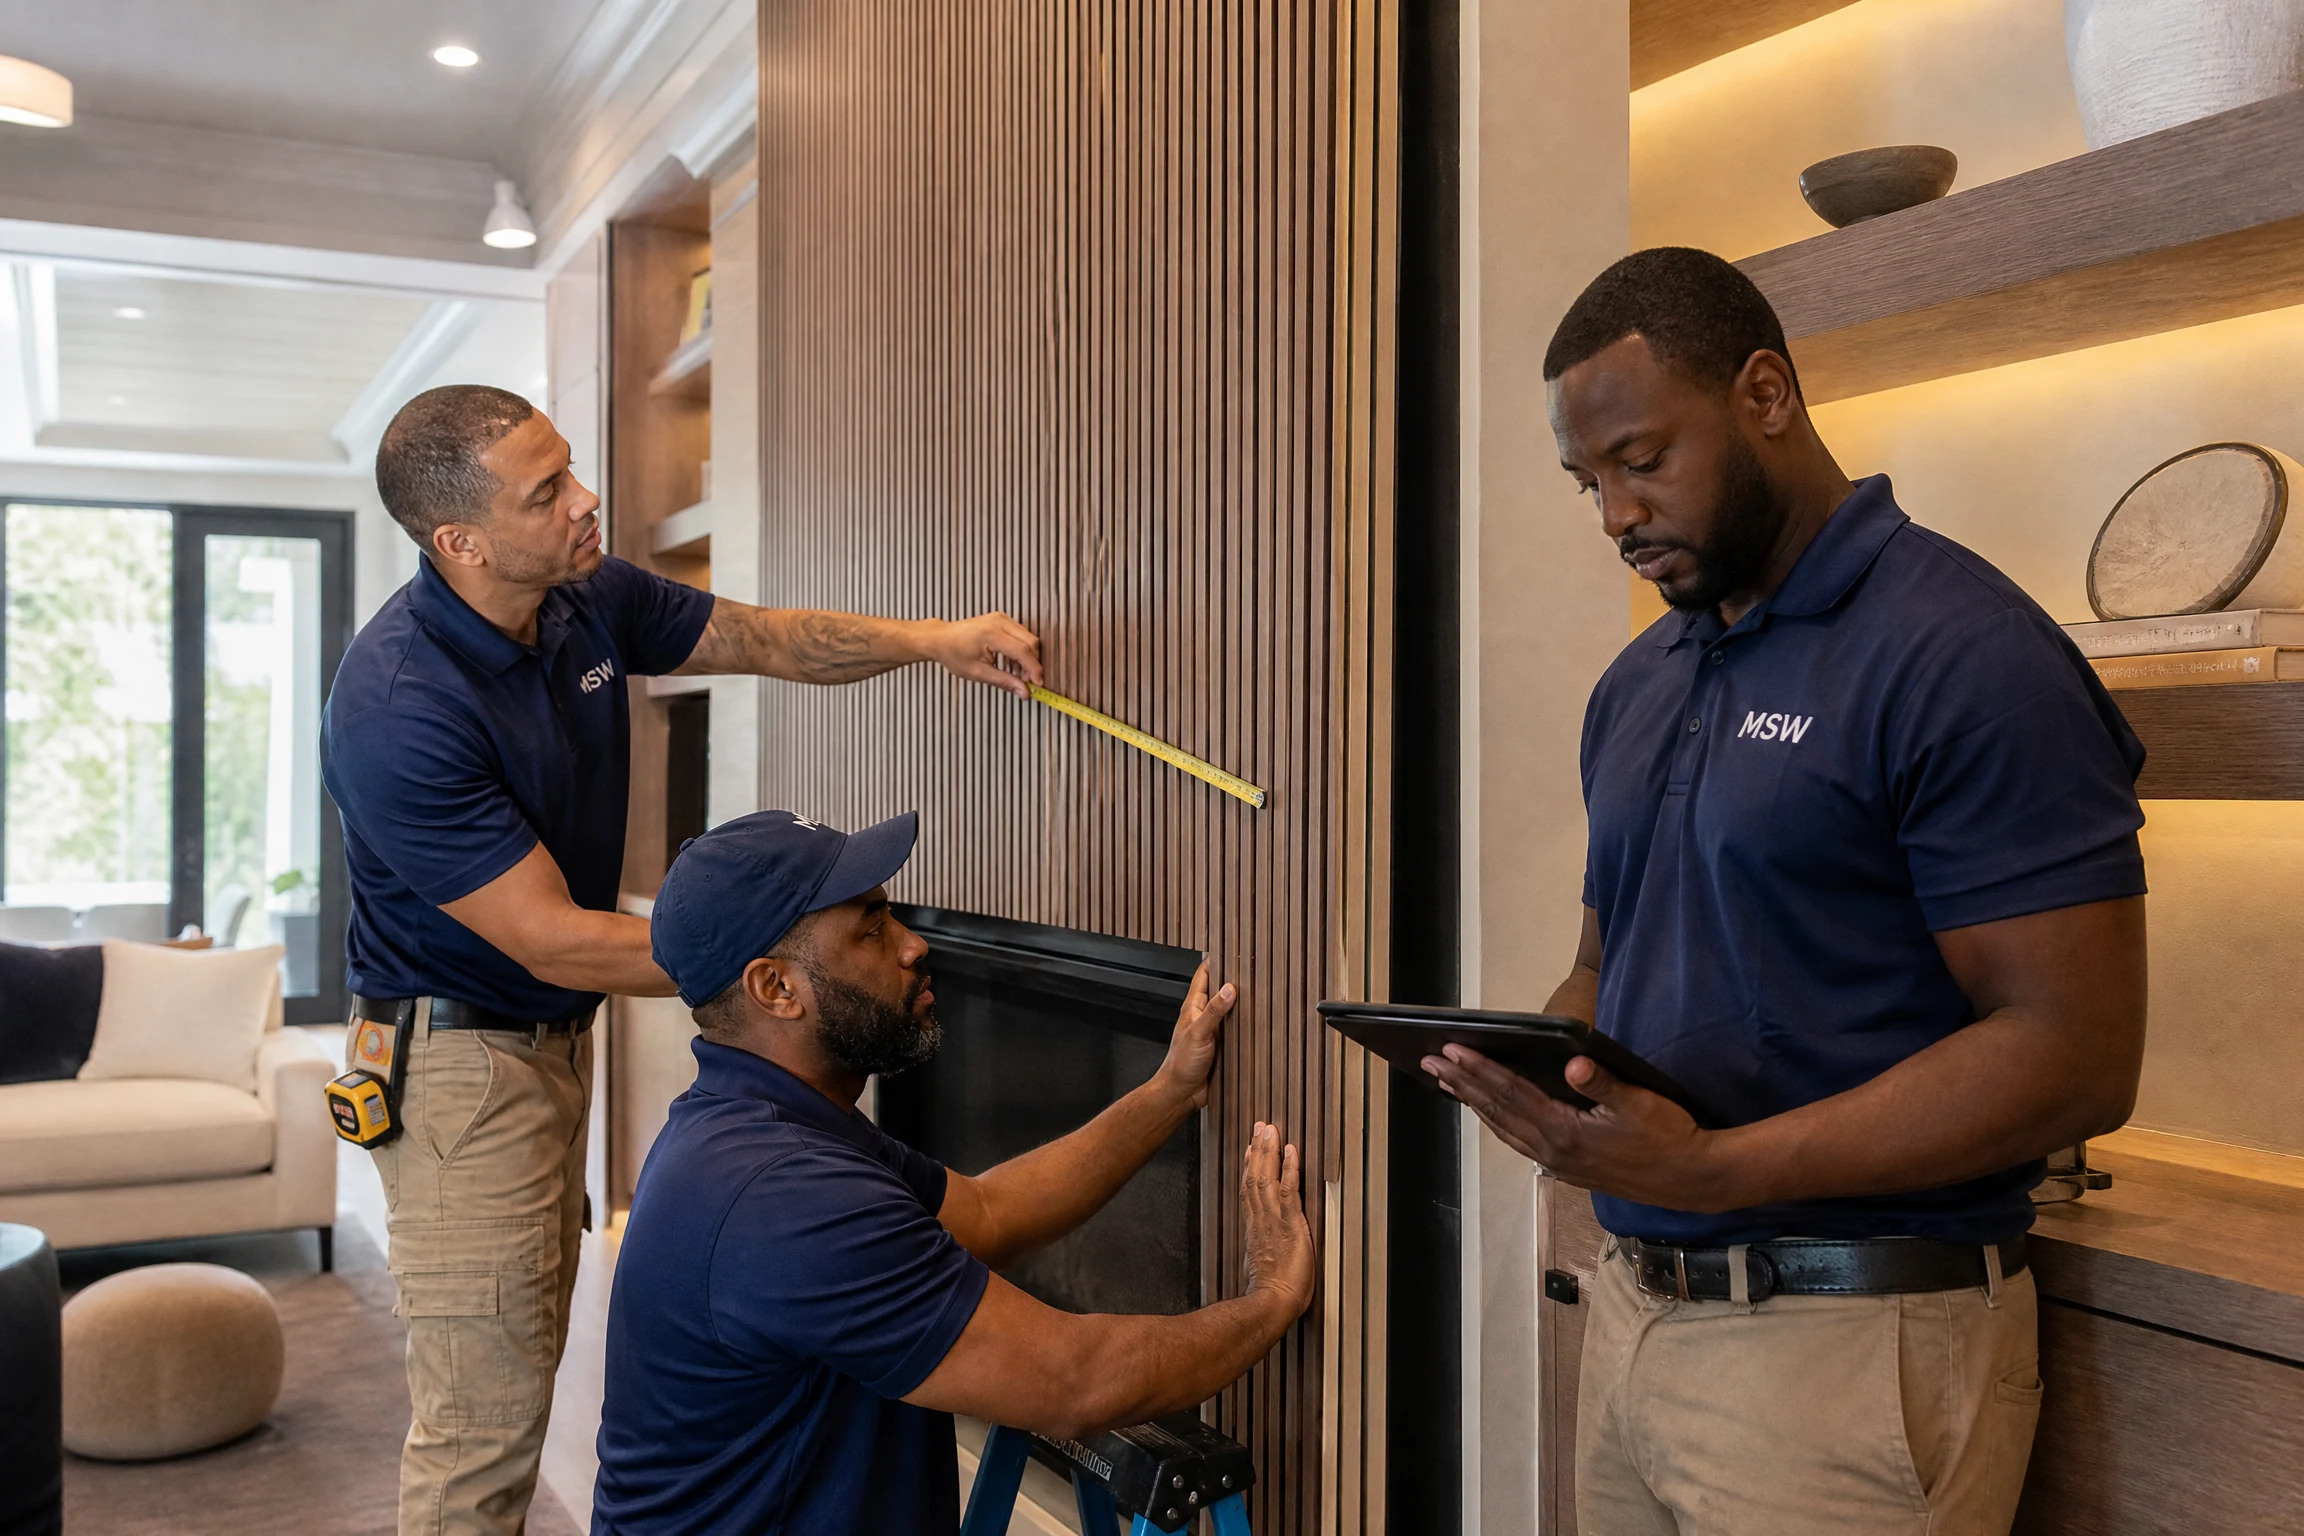
Your paid one-hour site visit validates measurements, lighting, framing, materials, access, and the safest path to a finished installation.

Scope
You receive a final written scope covering the selected system, finishes, separately quoted additions, actual production window, and installation plan.
Design
Within two to three business days of your visit you receive a branded design package by email: layout and dimensions, selected finishes and materials, lighting and control plan, scope inclusions, separately quoted items, production window, and your payment schedule. We walk it through with you and two revision rounds are included.

Fabricate
Written design approval and the 50% deposit release material ordering. Components are prepared and the production schedule is confirmed around the real project conditions. Nothing is cut or ordered before approval.

Prepare
We confirm material arrival, site protection, access, and the installation window before the crew arrives. On longer projects a single milestone payment is due here, written into your scope in advance so nothing is a surprise.
Install
The crew protects the space, completes the installation, handles approved finish work, and works through the final reveal with precision.

Complete
We walk the finished work with you, close any punch items, and the remaining balance is due at completion. No net terms, no open items left hanging.

Care
Care guidance, warranty registration, and a clear path back to the team if something needs attention after the installation.
How Payment Works
The same structure on every project, written into your scope before you pay anything toward the build.
Due after you approve the design in writing. This releases material ordering and locks your production window. Your site visit and design fees are credited here.
On extended builds, one milestone payment is tied to a verified stage such as fabrication complete. It is written into your approved scope in advance, never introduced mid-project.
The remaining balance is due once we walk the finished installation with you and close any punch items. Separately quoted additions are invoiced on their own.
Care After Install
2-year workmanship warranty
Covers installation craftsmanship for approved wall systems and site-built add-ons.
1-year LED system warranty
Covers manufacturer defects in approved LED components and smart controls.